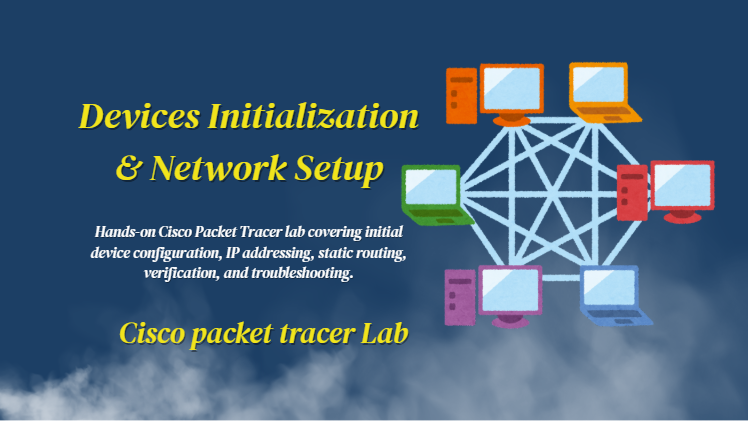
Cisco Packet Tracer Lab 1 – Basic Device Initialization & Network Setup
I design a lab , for initial device configuration, how to connect to cisco router or switch, initial device configuration; switch, router initial configuration, and build a basic cisco netwrk, make lab complete to practice all in hands on lab PHASE : 1 – Configure Routers Router1 exit*** >enable >config t >int gigabitethernet0/0/1 >no shut >Interface GigabitEthernet0/0/0 >no shut ***>exit PHASE : 2 – Configure Switches >enable >config t hostname Switch1 (to set hostname) >enable secret class123 (to set privileged exec password) >line console 0 (to set console password) >password cisco123 >login >exit > line vty 0 15 (set vty for remote access) >password cisco123 >login >exit >interface vlan 1 (to configure management interface) >ip address 192.168.1.10 255.255.255.0 >no shut >exit >ip default-gateway 192.168.1.1 (set default gateway) >exit >interface vlan 1 >ip address 192.168.2.10 255.255.255.0 >no shut PHASE : 3 – Configure IP Addresses IP Address: 192.168.1.2 Subnet Mask: 255.255.255.0 Default Gateway: 192.168.1.1 IP Address: 192.168.1.3 Subnet Mask: 255.255.255.0 Default Gateway: 192.168.2.1 Now all devices are configured sucessfully and what i see; Now to Verify Switch Configuration: Router1#configure terminal Router1(config)# ip route 192.168.2.0 255.255.255.0 192.168.10.2 Router1(config)# exit Router2# configure terminal Router2(config)# ip route 192.168.1.0 255.255.255.0 192.168.10.1 Router2(config)# exit From PC1 command prompt PC1> ping 192.168.1.10 (Switch1) PC1> ping 192.168.1.1 (Router1) PC1> ping 192.168.10.2 (Router2) PC1> ping 192.168.2.100 (PC2) From Router1 Router1# ping 192.168.2.100 Router1# show ip route Router1# show interfaces description From Switch1 Switch1# show mac address-table Switch1# show vlan brief I do shutdown interface and then test it for troubleshooting practice; Router1# config t Router1(config)# interface gigabitethernet 0/0/1 Router1(config-if)# shutdown I do test connectivity between PC1 & PC2, so then i bring interface up by using no shut command. This comprehensive lab gives me hands-on practice with all fundamental Cisco networking concepts Lab Completion Checklist Conclusion: So in today’s blog I show how i do Configure basic devices and networking in lab step by step in easy and simple way. Theconfiguration of router is very important because it will start the network. So if you want to try this lab you can download the cisco packet tracer file from my github or you can reach out to me via my social media handles. This practice helped me to fulfill the gap between theory and practical knowledge. I’m sharing my journey to becoming a cyber security professional step by step through blog posts, hands-on labs, and GitHub projects. Here is my github project link you can check it or you can also follow me on my other social media profiles. https://github.com/munazajamil/Windows-7-Penetration-Testing-Report. So if you want to start learning ethical hacking start with free resources available on YouTube and read books. If you found this guide useful keep an eye out for additional cyber security tutorials for beginners! Stay tuned with my blog for additional real life cyber security walkthroughs. Just check out the cyber security roadmap for beginners. https://munazajameel.site/cybersecurity-roadmap-2025-beginners/. OR you can check out my YouTube channel for better content. https://www.youtube.com/@itzmunazah or tiktok & instagram. This was it for today and i’ll see next time!!!
Cisco Packet Tracer Lab 1 – Basic Device Initialization & Network Setup Read More »